Sink Marks in Injection Molding: Causes, Fixes, and Prevention
- 2026.06.17
- TONY WEN / FLYING TIGER KJ CO., LTD.
In injection molding, even a small surface depression can compromise a part's appearance, dimensional accuracy, and perceived quality. Sink mark defects in injection molding are one of the most common defects manufacturers encounter — and one of the most persistently misdiagnosed.
This article walks through the full troubleshooting process: from part and mold design, to machine parameters to the thermal control stability that is often the missing link in long-term defect prevention.
1. Understanding Sink Mark Defects in Injection Molding
Warpage rarely comes down to a single bad setting. More often, it builds up from small process imbalances, such as uneven cooling, weak packing, material issues, or part geometry that creates internal stress.
A sink mark is a small depression that forms when the inner material of a molded part continues to shrink after the outer layer has already solidified. The result is a visible dent — most commonly found at the base of ribs, bosses, screw columns, and other areas where material concentrates and cools more slowly.
The root cause is always differential shrinkage: thicker sections retain heat longer, and without sufficient packing pressure or balanced cooling to compensate, the surface is pulled inward as the core contracts.
What makes sink marks particularly difficult to eliminate is that they rarely have a single cause. Part geometry, gate placement, cooling channel layout, packing pressure, and auxiliary equipment stability can all contribute. Treating any one of these in isolation often produces only temporary improvement. A lasting fix requires reviewing the full process — from design through to thermal control.
2. The First Line of Defence: Optimizing Part and Mold Design
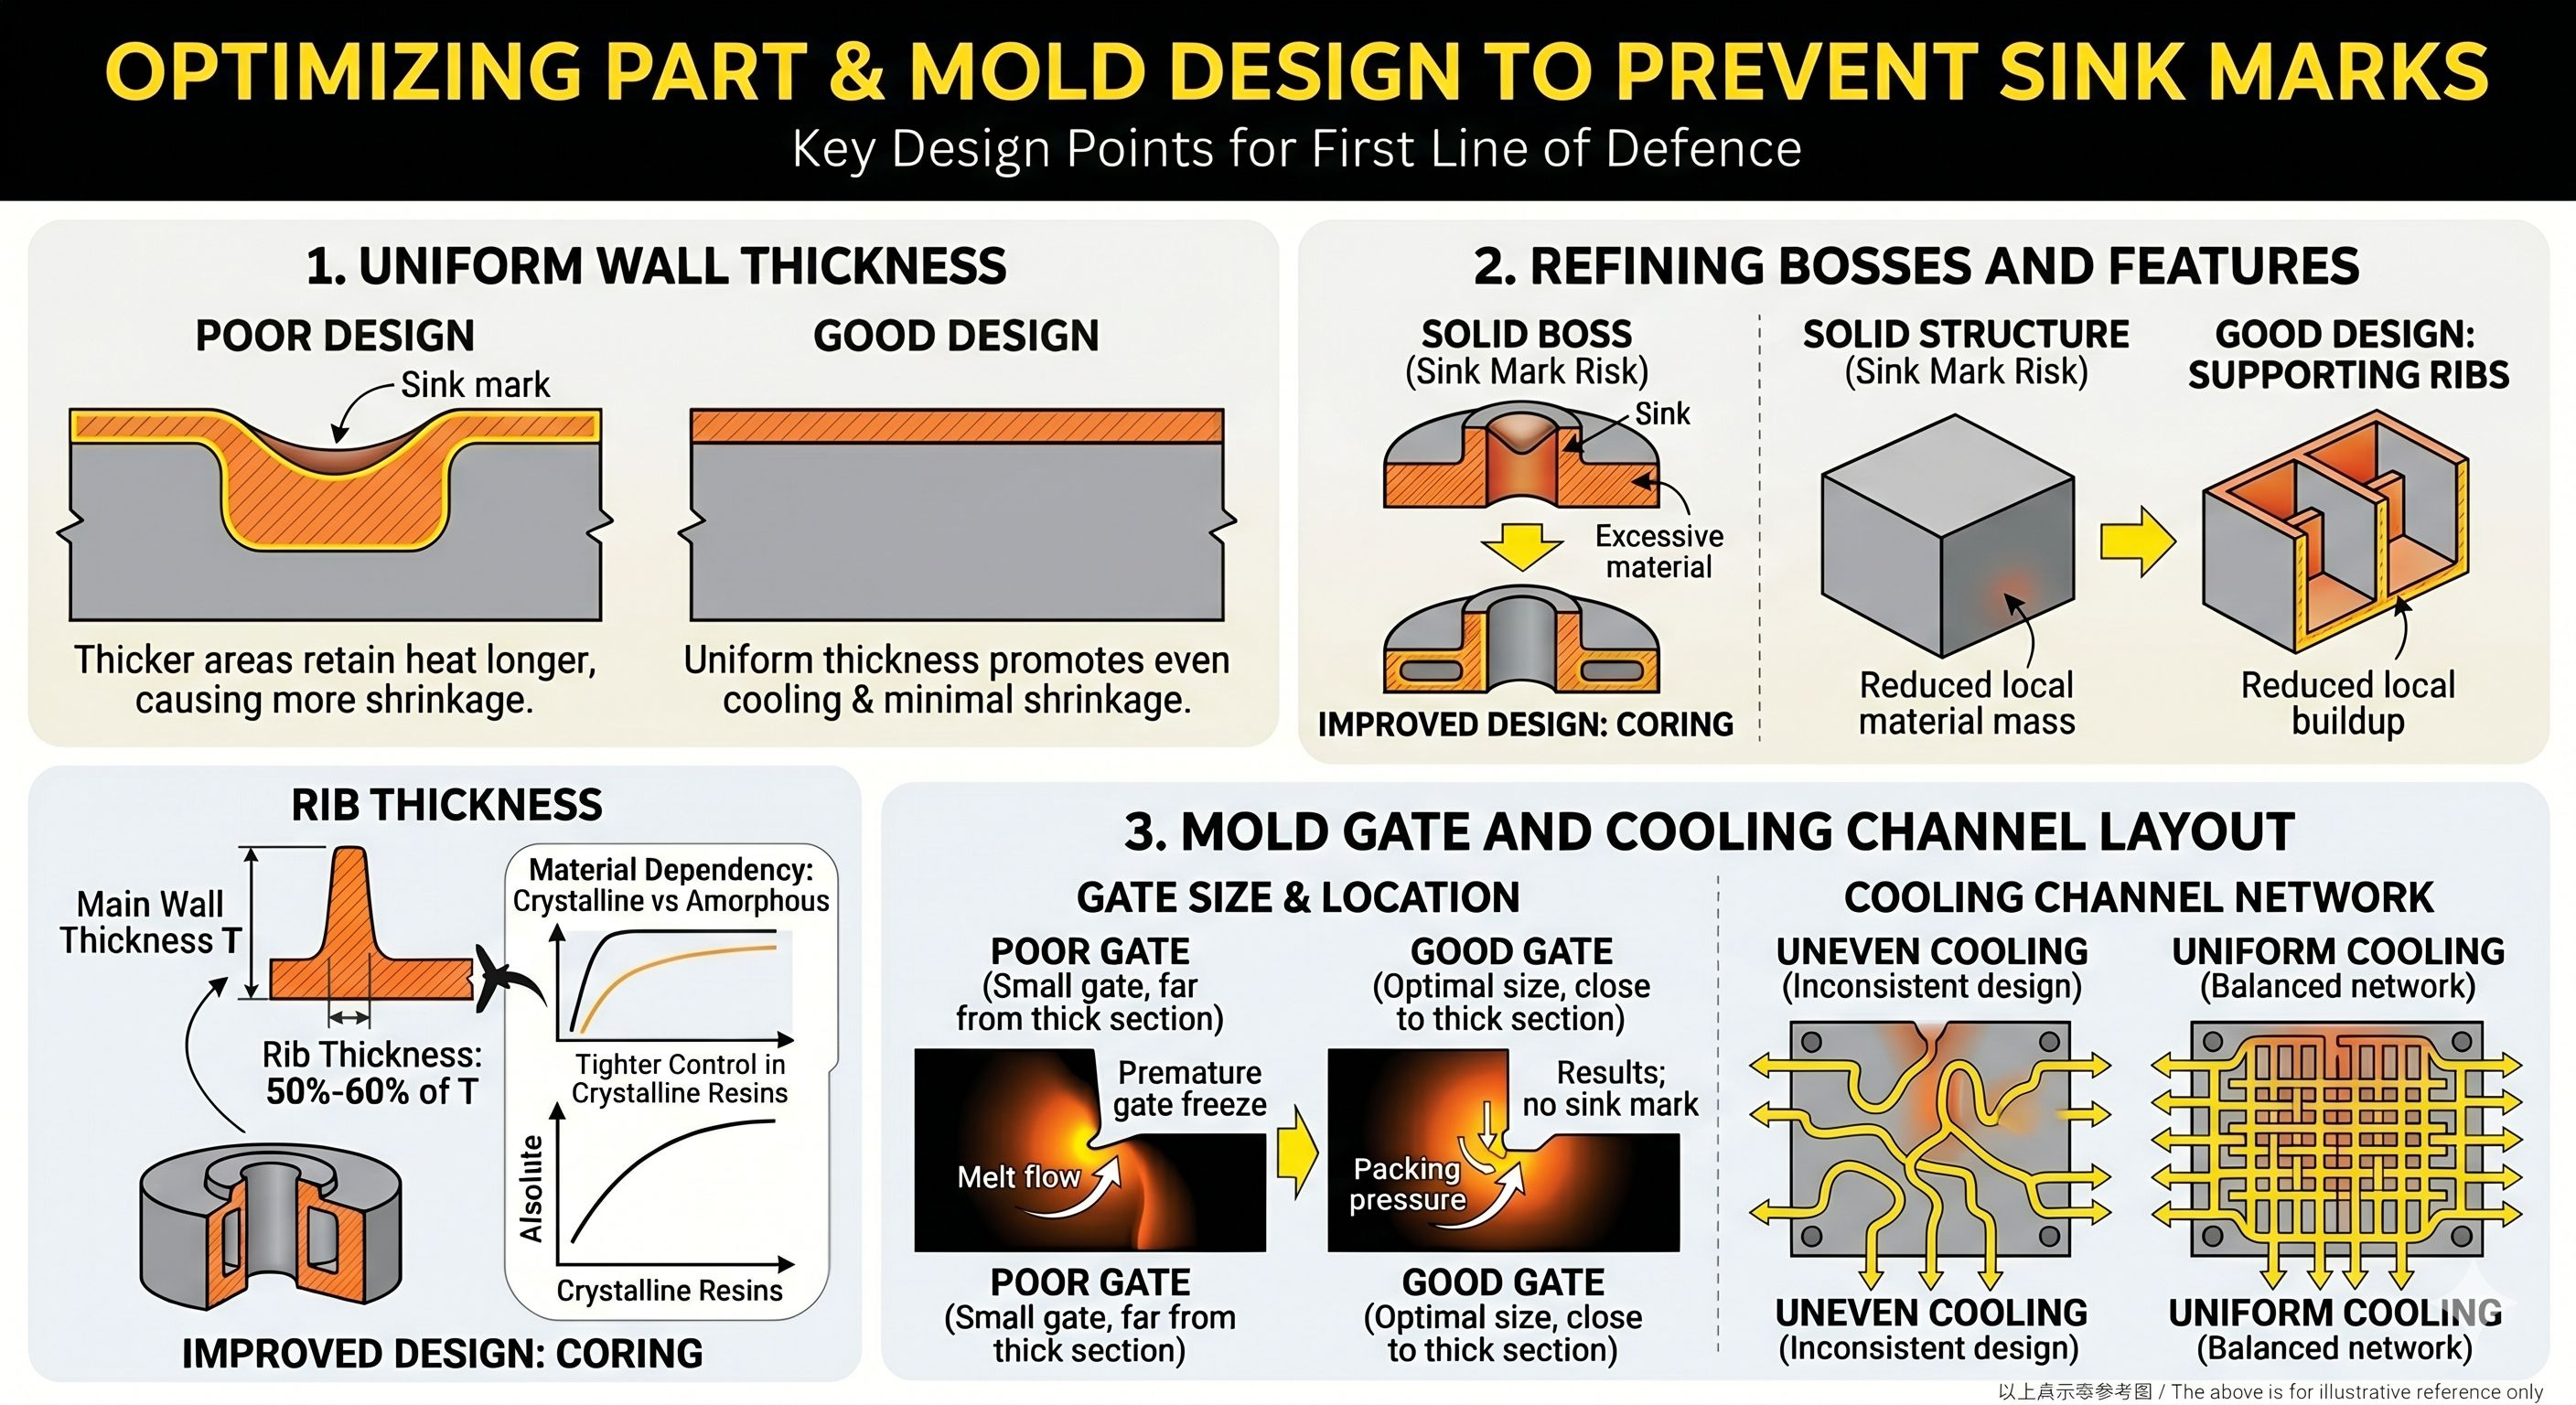
When troubleshooting sink marks, start with the part and mold design. If thick sections, poor gate placement, or uneven cooling already exist in the design, machine adjustments may only provide a temporary fix. Here are three key design points to check first:
Uniform Wall Thickness
Thicker areas retain heat longer and shrink more during cooling, increasing the risk of surface depressions.
Rib thickness is commonly kept at around 50% to 60% of the main wall thickness, depending on the material and structural requirements. This provides structural support while reducing material buildup at the rib base — a common source of sink marks. Note that the optimal ratio varies by resin type; crystalline materials such as nylon and POM typically require tighter control than amorphous materials.
Refining Bosses and Features
Bosses, screw columns, and other structural features can become sink mark hot spots when too much material is concentrated in one area. Common improvements include coring out thick sections or replacing solid structures with supporting ribs.
These changes reduce localized material mass and heat buildup, helping the part cool more evenly and improving dimensional stability.
Mold Gate and Cooling Channel Layout
Gate size and location have a direct impact on how well molten plastic fills the cavity and how effectively packing pressure can be maintained. With the right gate dimensions, material can continue feeding into thicker sections before the gate freezes, helping offset shrinkage during cooling.
Cooling channel layout is just as important. When cooling is uneven, some areas release heat faster than others, which can lead to inconsistent shrinkage across the part. A well-balanced cooling channel network promotes uniform heat dissipation and helps reduce the risk of sink marks, warpage, and dimensional variation.
3. Rethinking Machine Parameters: Pack, Hold, and Melt Temperature
After checking the part and mold design, the next step is to review the molding parameters. Here are two important areas to focus on:
Packing Pressure and Holding Time
Packing pressure compensates for material shrinkage after the cavity is filled, offsetting the volumetric contraction that occurs as plastic cools.
Holding time should be long enough to maintain this pressure until gate freeze occurs. If the pressure is released too early, the material inside the cavity can continue shrinking without adequate compensation — pulling the surface inward and creating sink marks. Once the gate freezes, no additional material can enter the cavity.
Melt Temperature Management
Excessive melt temperature brings more heat into the mold, increasing the cooling burden, extending solidification time, and raising the total shrinkage that must be managed during the cycle.
To reduce this risk, melt temperature should be kept within the resin supplier's recommended processing range. Raising the temperature beyond this range may improve short-term flow, but it increases the shrinkage that needs to be compensated later. Monitor melt temperature consistently throughout production to catch drift early.
4.The Missing Link in Defect Troubleshooting: Equipment Stability
After reviewing part design and machine settings, evaluate equipment stability. This step is often skipped — and is frequently where recurring sink marks originate.
Addressing the Information Gap
In many molding operations, technicians respond to sink marks by adjusting injection pressure, holding time, melt temperature, or cooling time. These changes may help temporarily, but they do not always address the root cause.
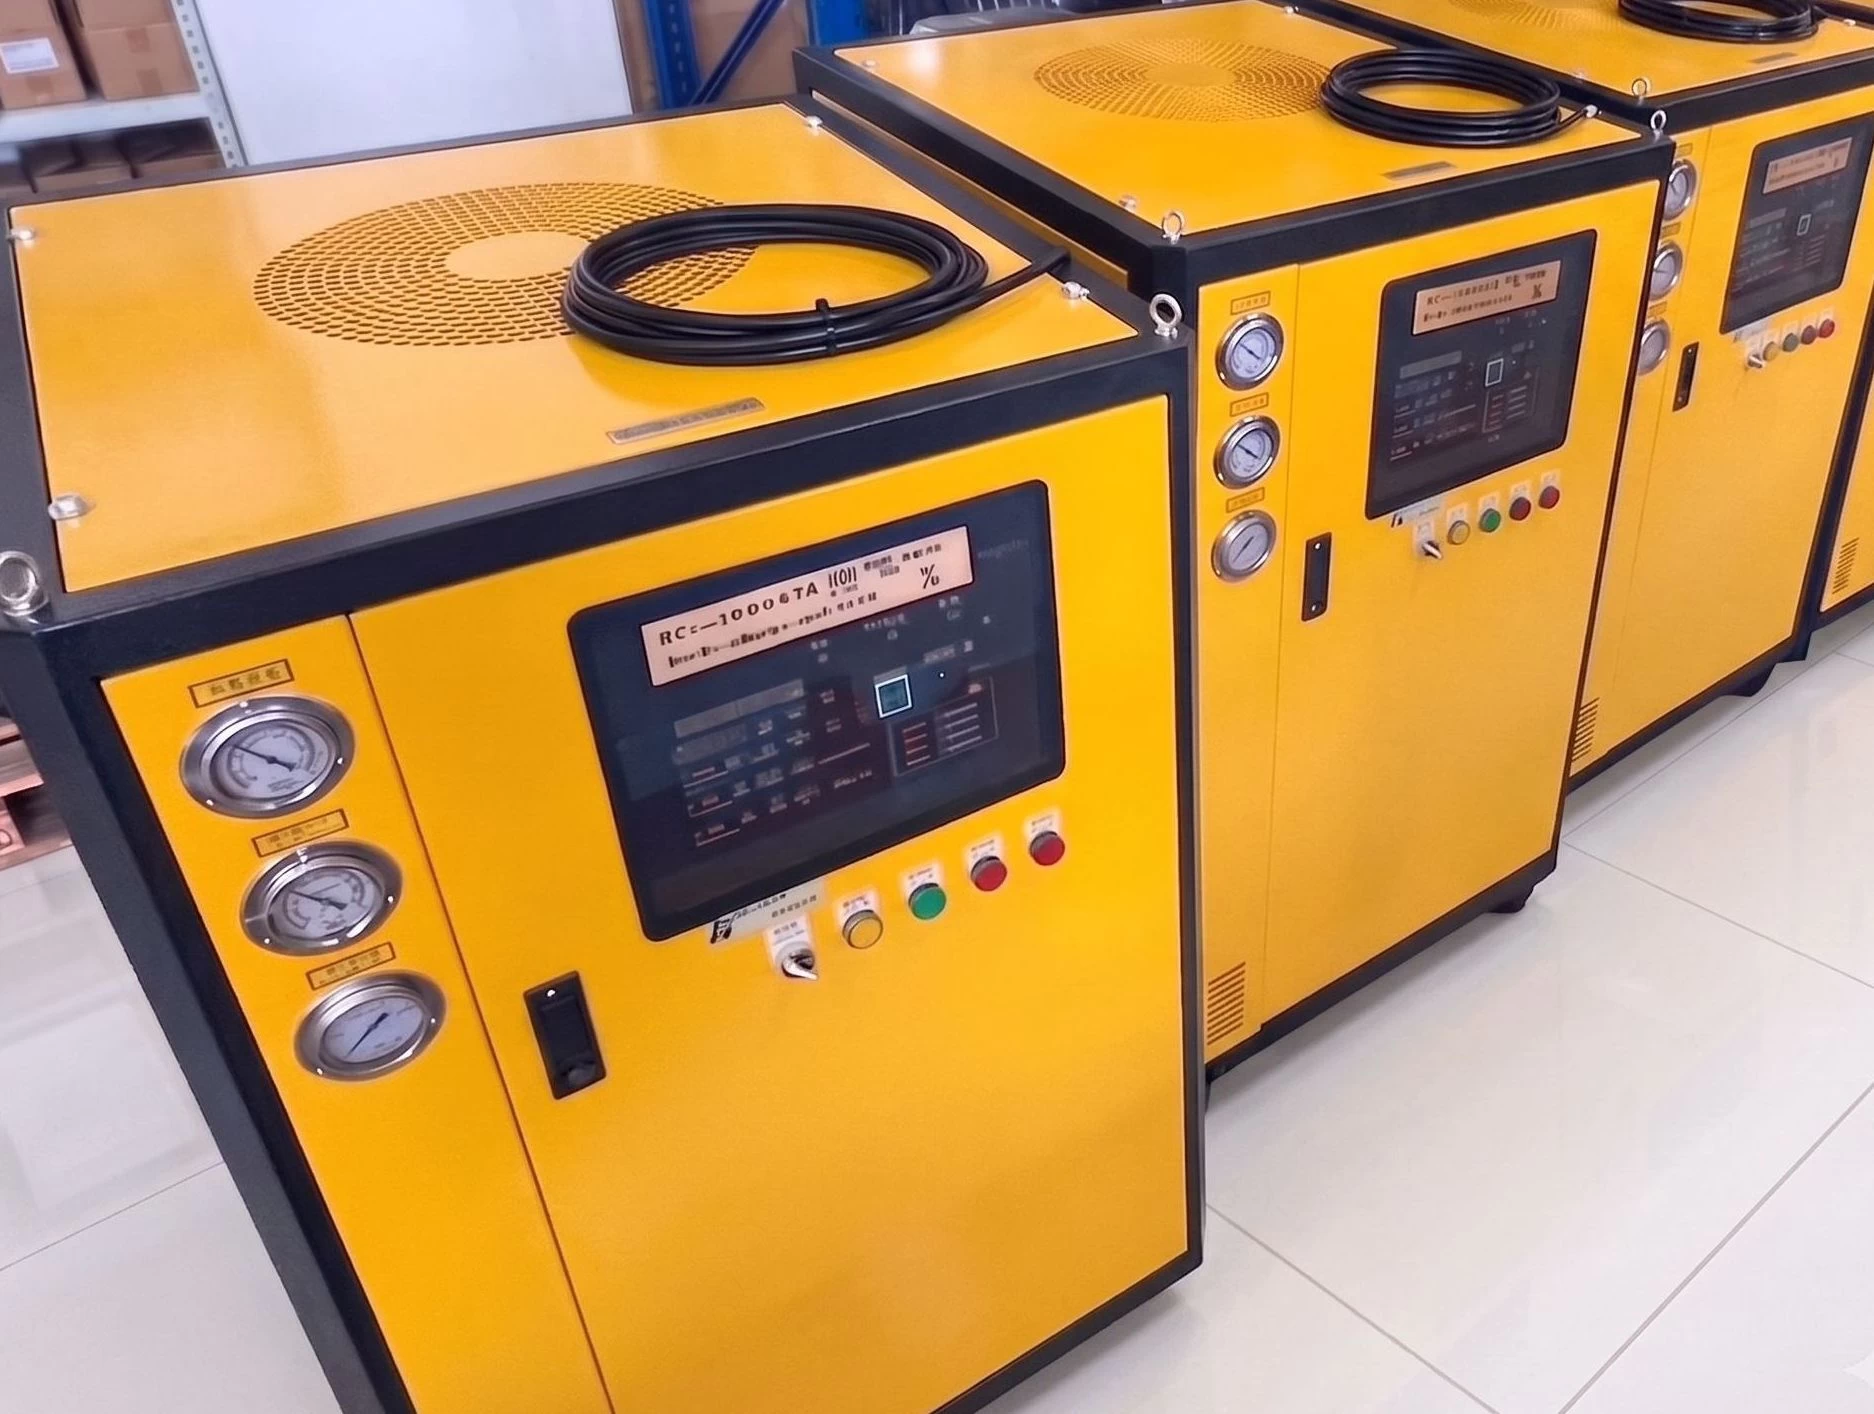
A common blind spot is the stability of peripheral equipment. Mold temperature controllers, chillers, cooling water systems, and other auxiliary equipment all influence how consistently heat is removed from the mold. If these systems are unstable, the process can continue to drift even when the injection molding machine settings look correct.
For a reliable process, the entire thermal control system — not just the molding machine — must be capable of maintaining stable, repeatable conditions throughout production.
Further Reading: Warpage in Plastic Injection Molding: Causes & Proven Solutions
The Cost of Temperature Fluctuations
Water temperature, flow rate, ambient conditions, and equipment response time can all affect how evenly the mold is cooled, even when machine settings remain unchanged.
Peer-reviewed studies confirm that sink marks are primarily driven by uneven shrinkage during the cooling phase. Localized hot spots alter the local cooling rate and cause differential shrinkage, leading to recurring defects and dimensional variation from batch to batch. Consistent thermal control is therefore essential for maintaining part quality over long production runs.

5.Thermal Control Equipment: What to Look For?
Once part design and machine parameters have been optimized, persistent sink marks often point to variability in the cooling system itself. Mold temperature controllers that drift under load, chillers with slow response times, or poorly balanced flow circuits can introduce inconsistency that no machine setting adjustment can fully correct.
When evaluating thermal control equipment for sink mark reduction, focus on three things: tight temperature regulation throughout the production run, fast response to heat load changes, and the ability to configure the system to your specific mold and resin requirements.
At Flying Tiger KJ, we develop mold temperature controllers and high-efficiency chillers designed for exactly these demands. Our systems are built for stable, repeatable performance across long production runs — and for applications where standard equipment is not sufficient, we offer customized thermal system integration tailored to your mold geometry, resin, and cycle time requirements.
If recurring sink marks are not responding to parameter adjustments, the issue may lie in cooling consistency. [Contact us] to discuss your process and identify where thermal variability may be entering your production.
FAQs
If you're unsure where to start, Flying Tiger's engineering team is ready to help. We'll analyze your process requirements and recommend the most suitable equipment configuration.
Check out Flying Tiger's Solution: ➜ [Mold Temperature Controller Series] or Contact Us directly for a free assessment and quote!


Back